
Laser Notebook
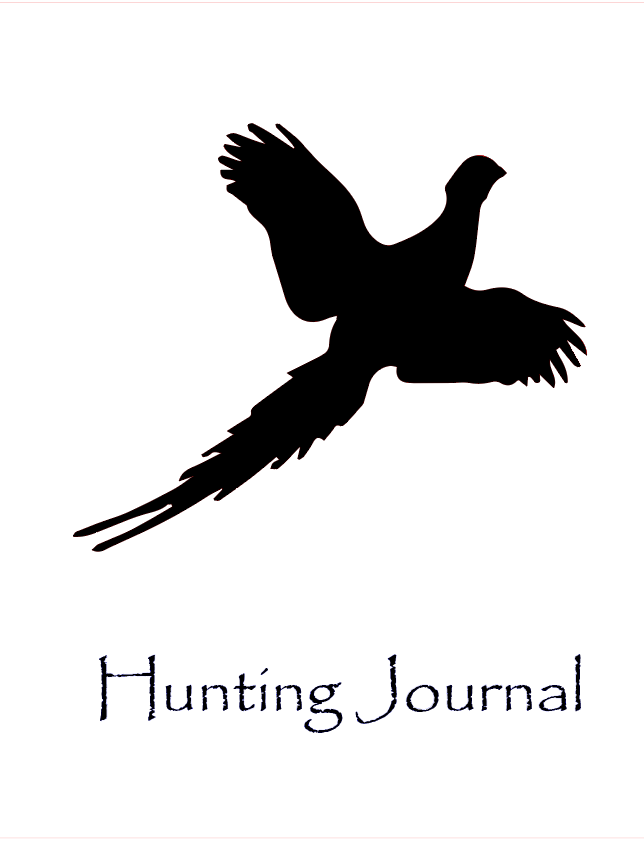
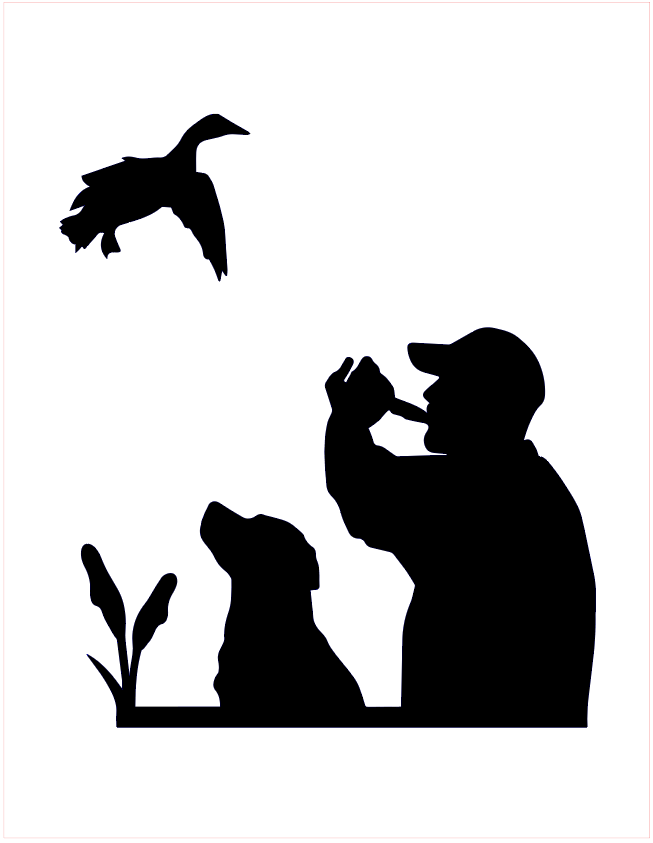
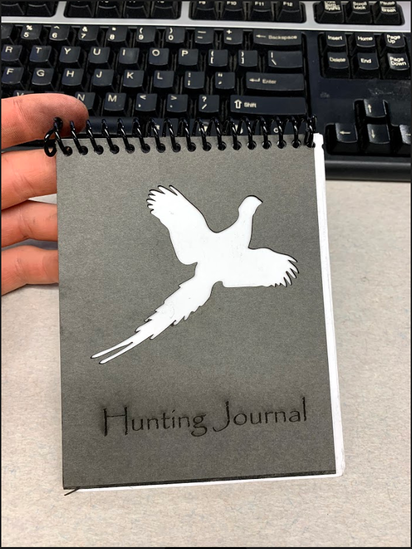
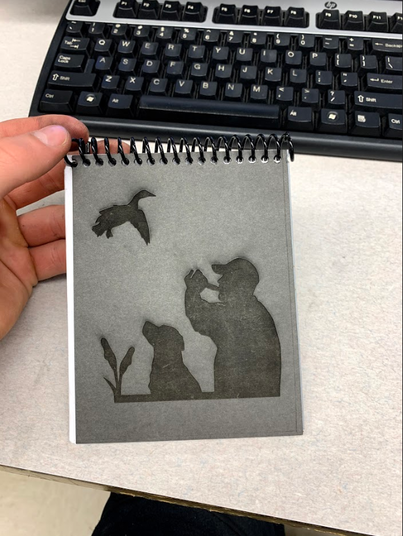
To start the first project of the laser rotation, which was the notebook. My designs for the notebook are shown below. On the left is the front cover, where we had to have an element be engraved, as well as an element be cut out. I chose to do a hunting themed notebook, and had a pheasant be cut out, and "HUNTING JOURNAL" engraved. On the back side, which is shown on the right, I decided to engrave just a large hunting scene, as I felt it would look pretty cool.
|
|
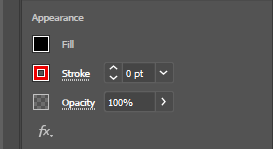
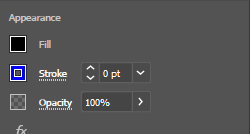
The next steps were to make sure I had the right stroke colors and size. I started with making sure the laser would cut out the things I wanted, like the overall rectangle as well as the pheasant, by making them have a red stroke at a size of 0.0001 pt. I then made my images vector images, and had the text, and back cover image have a blue outline, so the laser would recognize that it would only be engraving those items. after all that was done, my design was ready for the printer.
|
|
Once I got my design downloaded to my flash drive and plugged into the printer, all I had left to do was select my material, which was mat board, and adjust the computer to the correct settings, and make sure the laser was lined up correctly. From there all I had to do was click start.
|
|
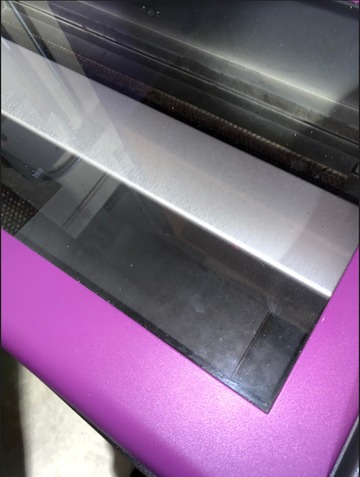
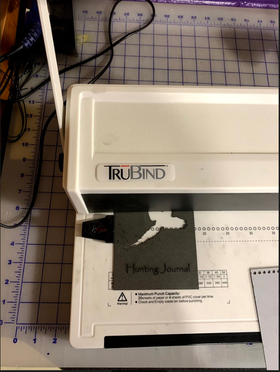
Once my pieces were cutout, all there was left to do was cut out 20 correctly sized pieces of paper, which was done by cutting 5 (8.5"*11") sheets of paper into quarters. After that was complete the final steps were to hole punch all of my pieces, and connect them with a spiral.
|
|
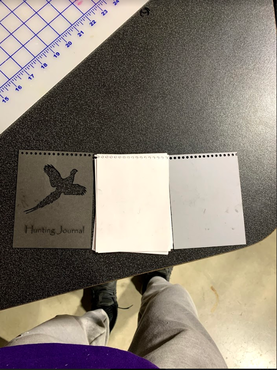
Final Notebook
|
|
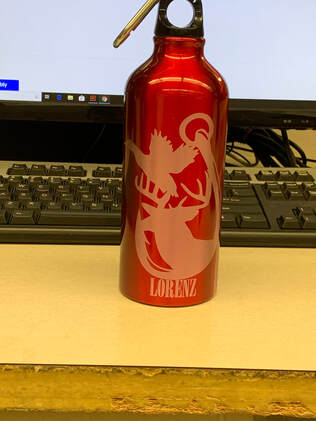
Laser Water bottle
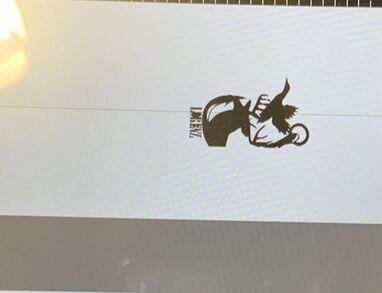
Down below is the design I picked out to put onto my water bottle. I kept with the outdoors theme and put the image into illustrator, and made sure to make it a vector image. I then added my text and set up the program to the outline everything in blue, so it would engrave rather than cutout. The final step was to flip everything 270 degrees, so it would print correctly.
|
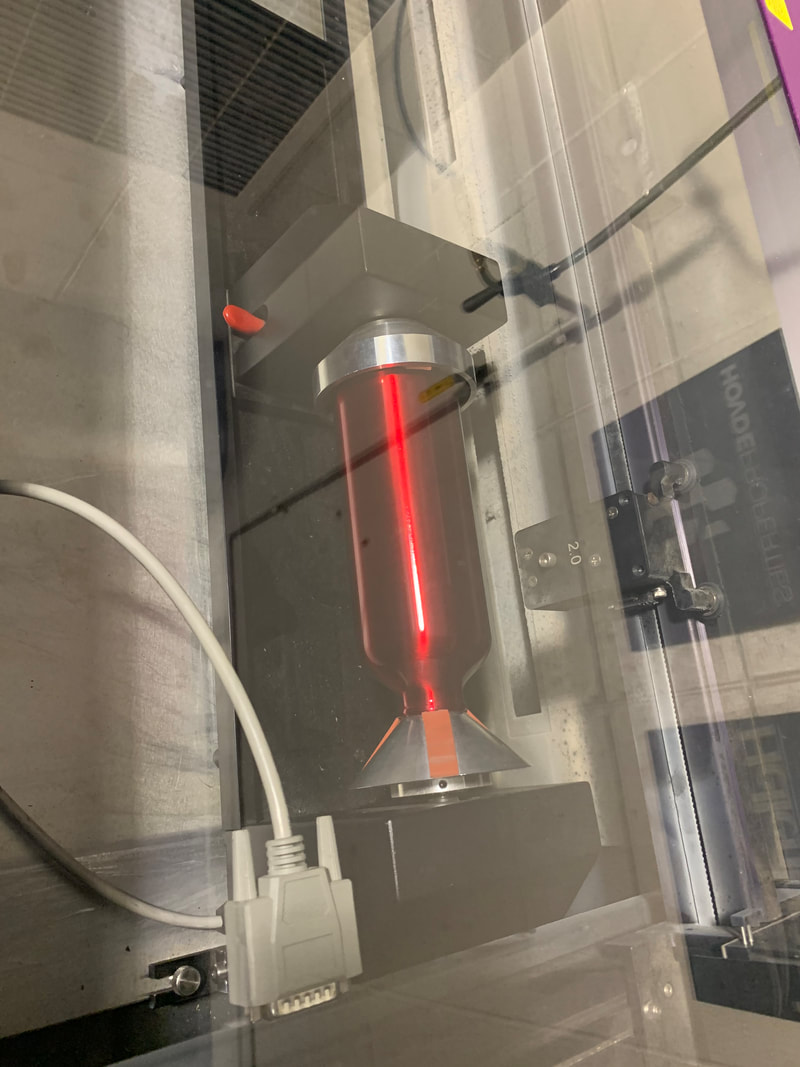
To the right, you can see my image in the printers program on the computer, and how I had to align it with the actual laser on the printer. To the left, you can see how I had to setup my water bottle in the jig, and clamp it down securely. The jig is in sync with the laser and that allows it to spin as the image is being engraved onto the bottle.
|
|
Down below, you will see the final product of this water bottle station.
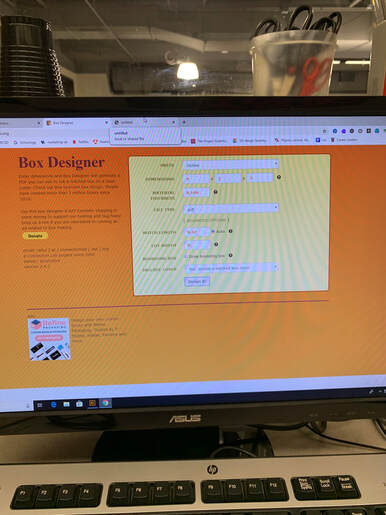
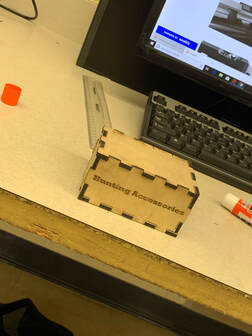
Laser Box
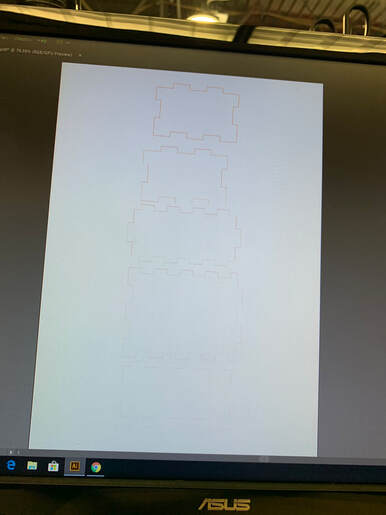
For this portion of the laser rotation, were were given the task to make 2-dimensional parts that were to be made into a 3-dimensional object. I decided to go with the press fit box, as I always am in need of extra storage. To start this project, I found a website that allowed me to simply plug in the dimensions that I wished my box to be, and it auto-generated the necessary pieces for me that simply just had to be uploaded into illustrator
|
|
The last steps were to put on my engraving, and set the lines to red for the outside, and blue for my text. Then it was time to print.
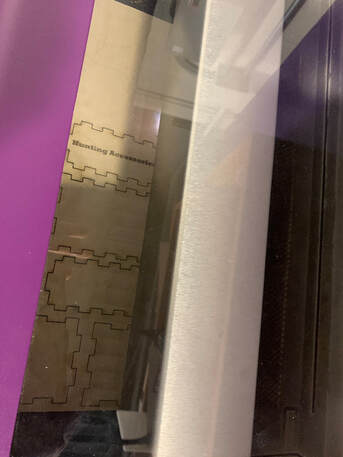
Once it was done printing, all I had to do was pop out the pieces and put it together. The final product is down below.
Summary
This rotation station really put your time management skills to the test. We had just a couple class periods to complete 3 separate projects for a whole group with 2 printers. The first of the projects was the notebook, and that only took one full class period, as it was relatively easy. However the next project that was the water bottle took some time, as there was a whole bunch of orientation between the bottle and images that had to be done before you could print, and with only one printer being able to fit the jig, it just took a while to get everybody through. Though it took a while, it gave me plenty of time to get my design setup and ready for the cutout box.
Overall I enjoyed this station, even though it was stressful at times we got to make some pretty cool stuff.
Overall I enjoyed this station, even though it was stressful at times we got to make some pretty cool stuff.
